
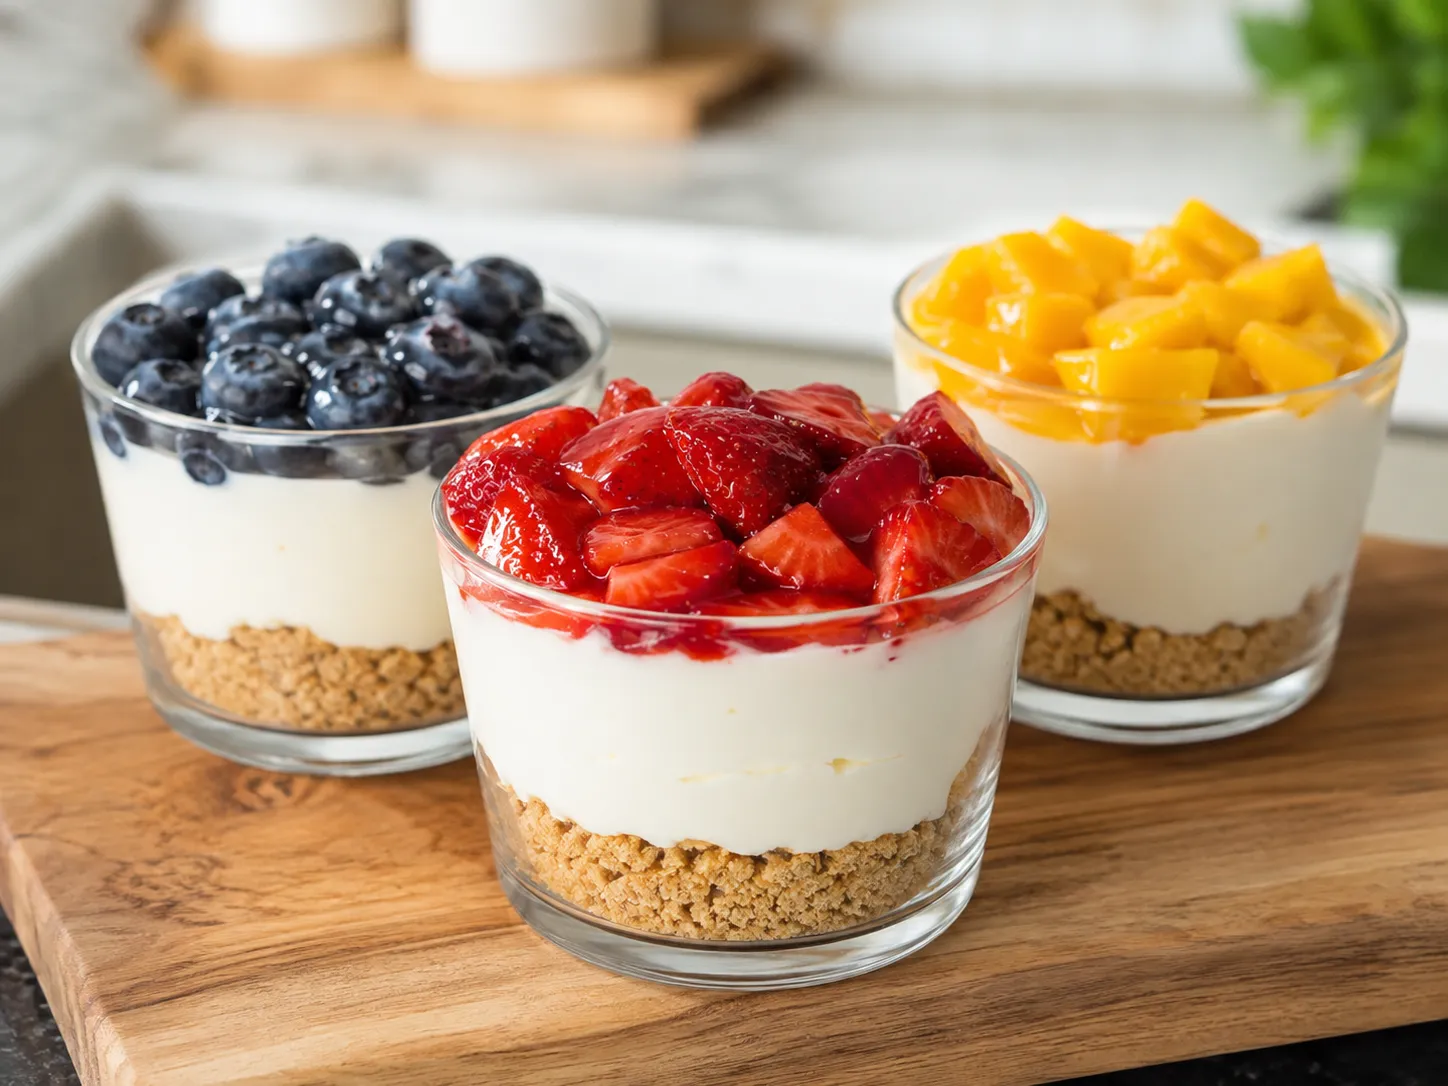
Looking for an easy dessert that feels special without spending hours in the kitchen? These No-Bake Cheesecake Cups are creamy, smooth, lightly sweet, and incredibly simple to make. They combine a buttery cookie crust, rich cheesecake filling, and your favorite fresh fruit or toppings in convenient individual servings.
The best part is that there is no oven required. This makes the recipe perfect for warm weather, dinner parties, holidays, family gatherings, or those days when you want cheesecake without the effort of baking a full cake.
Recipe Information
- Recipe Name: No-Bake Cheesecake Cups
- Prep Time: 20 minutes
- Chilling Time: 2 hours
- Cooking Time: 0 minutes
- Total Time: 2 hours 20 minutes
- Servings: 6 cheesecake cups
- Difficulty: Easy
Why This Recipe Is Good
These no-bake cheesecake cups are quick to prepare, require simple ingredients, and are served in individual portions. The creamy filling pairs beautifully with the crunchy cookie base, while fresh berries or other toppings add a bright, fruity finish.
Ingredients
For the Cookie Crust
- 12 digestive biscuits or graham crackers
- 3 tablespoons unsalted butter, melted
- 1 tablespoon granulated sugar, optional
For the Cheesecake Filling
- 8 ounces (225 g) cream cheese, softened
- 1/3 cup powdered sugar
- 1 teaspoon vanilla extract
- 1 tablespoon lemon juice
- 1/2 cup heavy whipping cream, chilled
For the Topping
- 1 cup fresh strawberries, raspberries, blueberries, or a combination
- 2 tablespoons fruit sauce or berry jam, optional
- Whipped cream, optional
- Mint leaves, optional
Equipment Needed
- 6 small serving cups, glasses, or dessert jars
- Food processor or rolling pin
- Mixing bowls
- Electric hand mixer or stand mixer
- Rubber spatula
- Measuring cups and spoons
- Spoon or small cookie scoop
- Refrigerator
How to Make No-Bake Cheesecake Cups
1. Prepare the Cookie Crust
Add the digestive biscuits or graham crackers to a food processor and pulse until they become fine crumbs. You can also place the cookies in a sealed bag and crush them with a rolling pin.
Transfer the crumbs to a bowl and stir in the melted butter. Add the sugar if you prefer a slightly sweeter crust. Mix until the crumbs are evenly coated and resemble wet sand.
2. Fill the Serving Cups
Divide the cookie mixture evenly among six dessert cups. Use the back of a spoon to gently press the crumbs into an even layer at the bottom of each cup.
Do not press the crust too firmly. A light, even layer gives you a pleasant crunchy texture while still being easy to eat with a spoon.
Place the cups in the refrigerator while you prepare the cheesecake filling.
3. Make the Cheesecake Filling
Place the softened cream cheese in a large mixing bowl. Add the powdered sugar, vanilla extract, and lemon juice.
Beat the mixture with an electric mixer until it becomes smooth and creamy. Make sure the cream cheese is softened before mixing, as this helps prevent lumps.
4. Whip the Cream
In a separate chilled bowl, beat the heavy whipping cream until it forms medium to stiff peaks.
Be careful not to overbeat the cream. You want it thick enough to hold its shape but still smooth and creamy.
5. Combine the Filling
Gently fold the whipped cream into the cream cheese mixture using a rubber spatula.
Fold slowly rather than stirring aggressively. This helps keep the filling light and fluffy, which gives the finished cheesecake cups their smooth and airy texture.
6. Add the Cheesecake Layer
Remove the chilled cups from the refrigerator. Spoon or pipe the cheesecake filling evenly over the cookie crust.
For a cleaner presentation, transfer the filling to a piping bag or a zip-top bag with the corner snipped off. Pipe the filling into each cup, filling them about three-quarters full.
7. Chill the Cheesecake Cups
Cover the cups loosely and refrigerate for at least 2 hours.
Chilling allows the filling to become firmer and gives the flavors time to come together. For the best texture, you can prepare the cups several hours in advance or refrigerate them overnight.
8. Add the Toppings
Just before serving, top each cheesecake cup with fresh berries.
You can also drizzle a little fruit sauce or berry jam over the top and finish with a small swirl of whipped cream. Add a mint leaf for a fresh and elegant look.
Serve chilled and enjoy.
Check More Recipes –
- Easy One-Pan Lemon Garlic Chicken Recipe for a Flavorful Dinner
- Vegetable Stir-Fry Recipe for a Quick and Healthy Meal
- Slow-Cooker BBQ Pulled Chicken Recipe for Tender, Juicy Chicken
- Chicken Pot Pie Recipe with a Golden, Flaky Crust
- Chocolate Chip Cookies Recipe for Soft, Chewy Cookies
- Cinnamon Sugar Donut Holes Recipe for a Sweet Homemade Treat
- No-Bake Peanut Butter Chocolate Bars Recipe
- Peach Cinnamon French Toast Bake Recipe for a Cozy Breakfast
- Blueberry Lemon Overnight Oats Recipe for a Fresh, Healthy Breakfast
Tips for the Best No-Bake Cheesecake Cups
Use softened cream cheese
Cold cream cheese can make the filling lumpy. Let it sit at room temperature for about 30 minutes before making the filling.
Do not skip the chilling time
The cheesecake filling needs time to firm up. Chill the cups for at least 2 hours for the best consistency.
Choose sturdy dessert cups
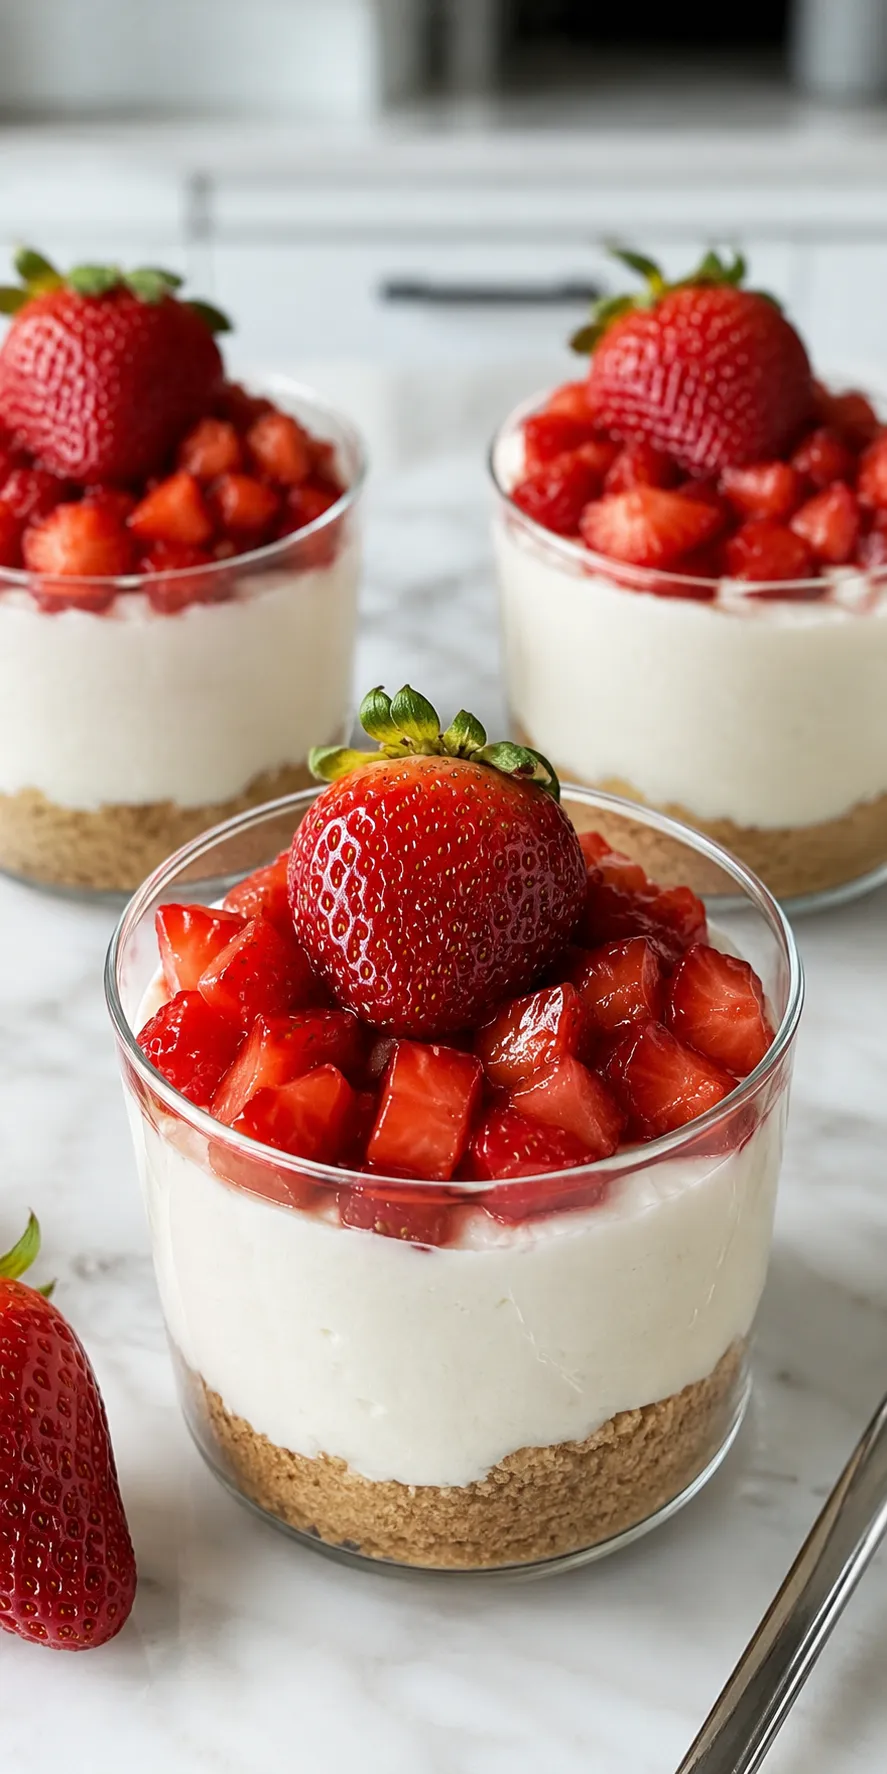
Small glasses, dessert jars, or pudding cups work especially well. Clear cups also show off the cookie, cheesecake, and fruit layers.
Add toppings just before serving
Fresh fruit looks and tastes best when added shortly before serving. This also helps prevent excess moisture from collecting on the cheesecake layer.
Make them ahead
These cheesecake cups are ideal for entertaining because you can prepare them a day ahead. Keep them refrigerated and add the toppings shortly before serving.
Easy Variations
Chocolate Cheesecake Cups
Add 2 tablespoons of unsweetened cocoa powder to the cheesecake filling and replace the fruit topping with chocolate shavings or chocolate sauce.
Strawberry Cheesecake Cups
Use strawberry slices on top and add a spoonful of strawberry jam between the cheesecake layers for extra fruit flavor.
Lemon Cheesecake Cups
Increase the lemon juice slightly and add 1 teaspoon of finely grated lemon zest to the filling. Top with lemon curd or thin lemon slices.
Oreo Cheesecake Cups
Replace the digestive biscuits or graham crackers with crushed chocolate sandwich cookies. You can also fold a few crushed cookies into the cheesecake filling.
Caramel Cheesecake Cups
Drizzle caramel sauce over the finished cheesecake cups and sprinkle the top with chopped toasted nuts.
How to Store No-Bake Cheesecake Cups
Store the cheesecake cups in the refrigerator in an airtight container or cover them tightly with plastic wrap. They are best enjoyed within 2 to 3 days.
For the best texture and appearance, add fresh fruit toppings shortly before serving.
Freezing is not recommended for this version because the whipped cream based filling can change texture after thawing.
Serving Suggestions
No-Bake Cheesecake Cups are delicious on their own, but you can make them even more appealing with a few simple additions.
Serve them with fresh berries, fruit compote, chocolate sauce, caramel sauce, toasted nuts, coconut flakes, or a small spoonful of whipped cream.
These individual desserts are especially convenient for birthdays, potlucks, baby showers, dinner parties, holiday meals, and summer gatherings.
Nutrition Information
The following is an approximate nutrition estimate per cheesecake cup based on the ingredients listed above.
| Nutrient | Amount Per Serving |
|---|---|
| Calories | 390 kcal |
| Carbohydrates | 32 g |
| Protein | 6 g |
| Fat | 27 g |
| Saturated Fat | 15 g |
| Sugar | 20 g |
| Fiber | 2 g |
| Sodium | 290 mg |
| Calcium | 75 mg |
Nutrition values are estimates and may vary depending on the specific brands and ingredients used.
Frequently Asked Questions
Can I make no-bake cheesecake cups ahead of time?
Yes. You can prepare the cheesecake cups up to 24 hours in advance and keep them refrigerated. For the freshest appearance, add berries and other toppings shortly before serving.
Why is my no-bake cheesecake filling too soft?
The filling may be too soft if the whipping cream was not whipped enough or if the cheesecake cups did not chill for long enough. Make sure the cream reaches medium to stiff peaks and refrigerate the finished cups for at least 2 hours.
Can I use whipped topping instead of heavy cream?
Yes. Whipped topping can be used as a convenient substitute for homemade whipped cream. The texture and sweetness may be slightly different.
Can I make this recipe without a food processor?
Absolutely. Place the cookies in a sealed plastic bag and crush them with a rolling pin, heavy glass, or the bottom of a small pan.
Can I use low-fat cream cheese?
You can, although full-fat cream cheese generally gives the filling a richer flavor and creamier texture. Low-fat cream cheese may produce a slightly softer filling.
What can I use instead of digestive biscuits?
Graham crackers, vanilla wafers, shortbread cookies, or chocolate sandwich cookies all work well as alternatives.
Can I use frozen berries?
Fresh berries are best for topping, but frozen berries can be used to make a quick fruit sauce or compote. Thaw and drain them well before using them as a topping.
How long do cheesecake cups last in the refrigerator?
They are best eaten within 2 to 3 days. Keep them refrigerated and covered to maintain their flavor and texture.
Do I need gelatin for no-bake cheesecake cups?
No. This recipe uses cream cheese and whipped cream to create a creamy filling that firms up as it chills. Gelatin is not necessary.
Final Thoughts
These No-Bake Cheesecake Cups are an easy way to enjoy the rich, creamy flavor of cheesecake without turning on the oven. With a crunchy cookie base, silky cheesecake filling, and fresh fruit topping, they offer the perfect combination of texture and flavor in every bite.
They are simple enough for a weeknight dessert but attractive enough for special occasions. Once you try the basic recipe, you can easily change the cookies, toppings, and flavors to create your own favorite version.
Recommended By BeautifulKitchenguide's Team
The Complete 28-Day Keto Meal Plan Check Keto Cookbook
The Ultimate 100 High-Protein Recipes Check High Protein Cookbook
The Ultimate Vegan Cookbook - 70 Easy Recipes Check Vegan Cookbook