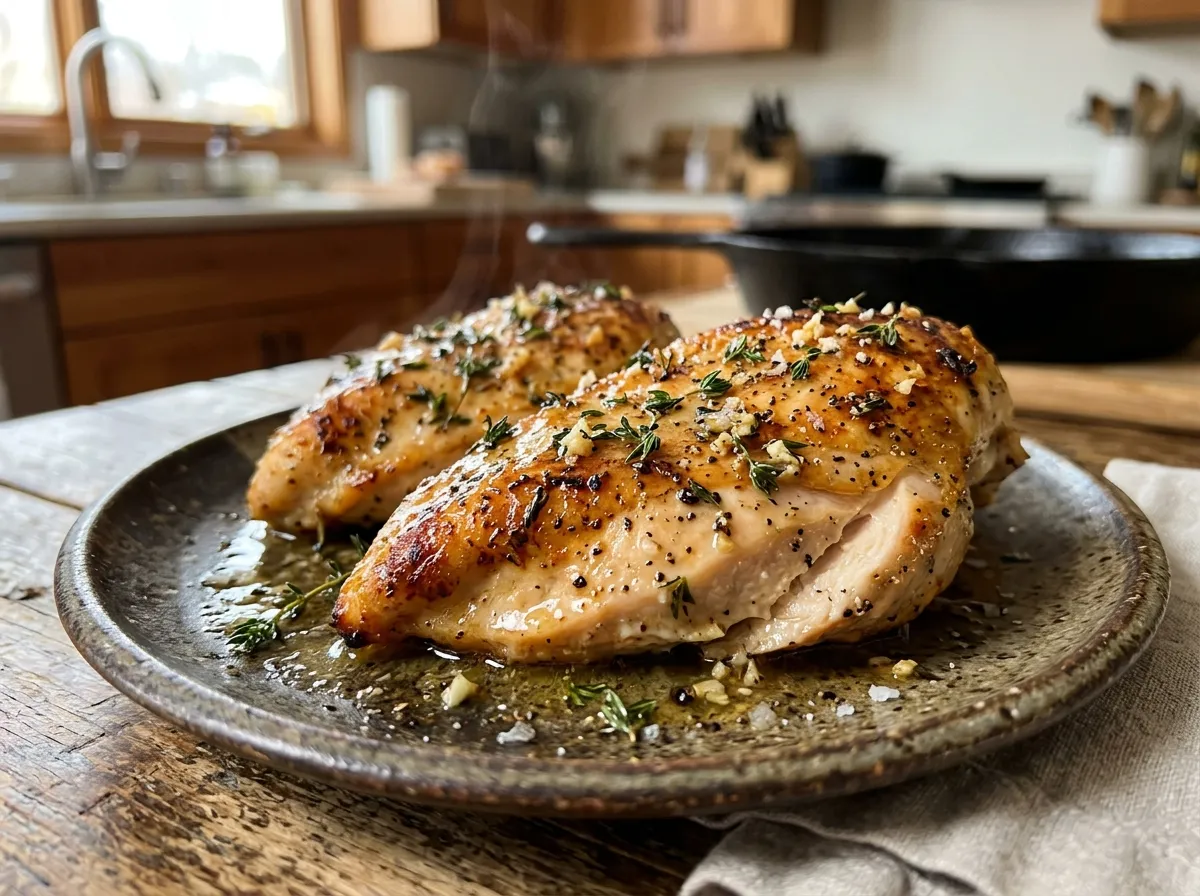
If you have ever pulled a baked chicken breast out of the oven only to find it dry, rubbery, and completely flavorless, you are not alone. Most home cooks struggle with this exact problem. But here is the good news: making perfectly juicy, tender, and flavorful baked chicken breasts is way easier than you think, and this recipe is here to prove it.
This recipe uses simple pantry staples, a quick seasoning rub, and one key technique that locks in moisture every single time. Whether you are meal prepping for the week, cooking a quick weeknight dinner, or feeding a crowd, this recipe has got you covered. Once you try it this way, you will never go back to dry chicken again.
Recipe at a Glance
| Detail | Info |
|---|---|
| Serves | 4 People |
| Preparation Time | 10 Minutes |
| Cooking Time | 22 to 25 Minutes |
| Total Time | 35 Minutes |
| Cuisine | American |
| Course | Main Course |
| Difficulty | Easy |
Why You Will Love This Recipe
This baked chicken breast recipe is a weeknight lifesaver. It comes together in under 35 minutes, uses ingredients you already have at home, and delivers restaurant-quality juiciness without any fuss.
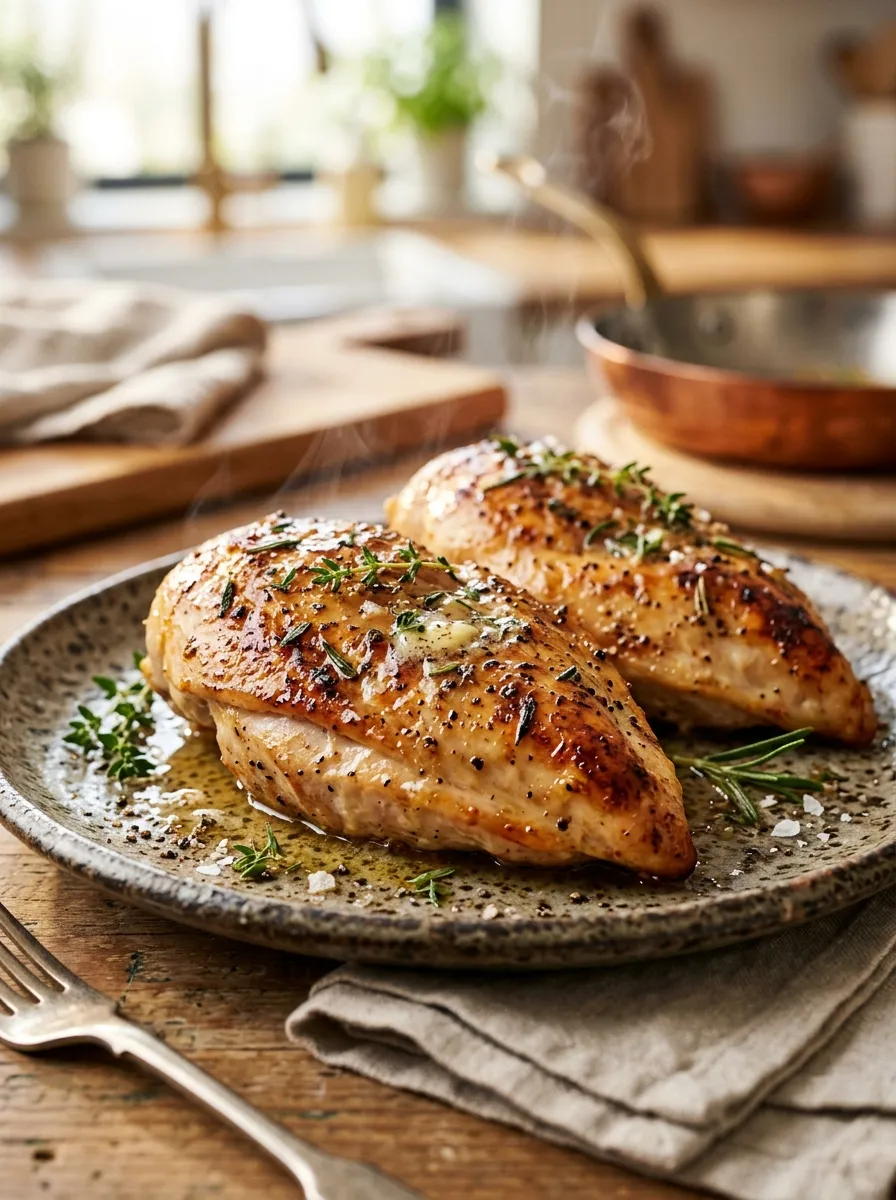
The simple spice rub adds bold flavor, the olive oil seals in the moisture, and the high-heat method makes sure you get that beautiful golden exterior with a perfectly cooked inside. It is also naturally gluten-free, high in protein, and works great for meal prep.
Equipment You Will Need
- Baking dish (9×13 inch) or rimmed baking sheet
- Meat thermometer (highly recommended)
- Mixing bowl (small)
- Measuring spoons
- Knife and cutting board
- Aluminum foil
- Paper towels
- Pastry brush or spoon (for coating the chicken)
Ingredients
(Serves 4)
For the Chicken:
- 4 boneless, skinless chicken breasts (about 6 to 8 oz each)
- 2 tablespoons olive oil
- 1 teaspoon garlic powder
- 1 teaspoon onion powder
- 1 teaspoon smoked paprika
- 1 teaspoon Italian seasoning
- 1/2 teaspoon salt (adjust to taste)
- 1/2 teaspoon black pepper
- 1/4 teaspoon cayenne pepper (optional, for a little heat)
- 1 teaspoon brown sugar (optional, helps with caramelization)
Optional Garnish:
- Fresh parsley, chopped
- Lemon wedges
Step-by-Step Instructions
Step 1: Preheat the Oven
Preheat your oven to 425°F (220°C). A hot oven is the secret to getting a golden, slightly crispy exterior while keeping the inside moist and tender. Do not skip this step or lower the temperature.
Step 2: Prepare the Chicken
Take the chicken breasts out of the refrigerator about 15 minutes before cooking. Letting them come to room temperature slightly ensures even cooking.
Pat each chicken breast completely dry with paper towels. This is an important step because removing excess moisture helps the seasoning stick and allows the chicken to brown nicely instead of steaming.
If your chicken breasts are very thick (more than 1 inch), consider pounding them to an even thickness using a meat mallet or the bottom of a heavy pan. This ensures all parts cook at the same rate.
Step 3: Make the Spice Rub
In a small bowl, mix together the garlic powder, onion powder, smoked paprika, Italian seasoning, salt, black pepper, cayenne pepper (if using), and brown sugar (if using).
Stir everything together until well combined. This simple rub is packed with flavor and gives the chicken that irresistible golden color.
Step 4: Season the Chicken
Place the chicken breasts in your baking dish. Drizzle the olive oil over them and use your hands or a pastry brush to coat every surface evenly. Then sprinkle the spice rub generously over both sides of each chicken breast. Press the seasoning gently into the meat so it sticks well.
Make sure the chicken breasts are arranged in a single layer and not overlapping in the baking dish.
Step 5: Bake the Chicken
Place the baking dish in the center rack of your preheated oven. Bake uncovered at 425°F (220°C) for 22 to 25 minutes. The exact time will depend on the thickness and size of your chicken breasts.
Here is a general guide:
- Small chicken breasts (5 to 6 oz): 20 to 22 minutes
- Medium chicken breasts (6 to 8 oz): 22 to 25 minutes
- Large chicken breasts (8 to 10 oz): 25 to 30 minutes
The most reliable way to check doneness is by using a meat thermometer. Insert it into the thickest part of the breast. The internal temperature should read 165°F (74°C).
This is the USDA safe temperature and also the point where the chicken is perfectly cooked without being overdone.
Step 6: Rest the Chicken
This step is just as important as the baking itself. Once the chicken is out of the oven, tent it loosely with aluminum foil and let it rest for 5 minutes.
Resting allows the juices to redistribute throughout the meat. If you cut into it immediately, all those delicious juices will run out and you will end up with a dry chicken breast.
Step 7: Serve and Enjoy
After resting, slice or serve the chicken breasts whole. Garnish with freshly chopped parsley and a squeeze of lemon juice for a bright, fresh finish. Serve with your favorite sides and enjoy!
Serving Suggestions
This baked chicken breast pairs well with just about anything. Here are a few ideas:
- Roasted or steamed vegetables like broccoli, green beans, or asparagus
- Fluffy white rice, brown rice, or quinoa
- Mashed potatoes or roasted sweet potatoes
- A fresh garden salad with vinaigrette
- Pasta with marinara or garlic butter sauce
- Warm dinner rolls or crusty bread
Check These Recipes –
- High-Protein Cottage Cheese Wraps Recipe
- Classic Baked Cabbage Rolls Recipe
- Crispy Roasted Chickpeas Recipe
- Best Egg Salad Sandwich Recipe
- Mediterranean Pasta Salad Recipe
- Cheesy Baked Ziti Recipe
Tips for the Juiciest Baked Chicken Every Time
- Always pat the chicken dry before seasoning. Moisture is the enemy of browning.
- Do not skip the resting time after baking. It makes a huge difference in juiciness.
- Use a meat thermometer. Guessing leads to either undercooked or overcooked chicken.
- Pound thick chicken breasts to an even thickness so they cook evenly from edge to edge.
- Bring chicken to room temperature before baking for more consistent cooking.
- Olive oil acts as a moisture barrier during baking. Do not skip it.
How to Store and Reheat
Refrigerator: Allow the chicken to cool completely, then store it in an airtight container in the refrigerator for up to 4 days.
Freezer: Wrap each chicken breast individually in plastic wrap, then place them in a freezer-safe bag or container. Freeze for up to 3 months. Thaw overnight in the refrigerator before reheating.
Reheating: Reheat in the oven at 350°F (175°C) for 10 to 15 minutes, covered with foil to prevent drying out. You can also slice the chicken and reheat it in a skillet over medium heat with a splash of chicken broth or water to keep it moist. Avoid microwaving if possible, as it tends to dry out the chicken quickly.
Nutrition Information
(Per Serving, based on 1 chicken breast with olive oil and seasoning)
| Nutrient | Amount Per Serving |
|---|---|
| Calories | 280 kcal |
| Protein | 38 g |
| Total Fat | 12 g |
| Saturated Fat | 2 g |
| Unsaturated Fat | 9 g |
| Carbohydrates | 2 g |
| Fiber | 0.3 g |
| Sugar | 0.5 g |
| Cholesterol | 110 mg |
| Sodium | 420 mg |
| Potassium | 620 mg |
| Vitamin A | 8% DV |
| Vitamin C | 2% DV |
| Calcium | 2% DV |
| Iron | 6% DV |
Note: Nutrition values are estimates and may vary based on the exact size of the chicken breasts and any optional ingredients used.
Frequently Asked Questions (FAQs)
Q1. How do I keep baked chicken breasts from drying out?
The key to juicy baked chicken breasts is a combination of a few things: patting the chicken dry before seasoning, coating it with olive oil, baking at a high temperature (425°F), and most importantly, not overcooking it. Use a meat thermometer and pull the chicken out as soon as it reaches 165°F internally. Then, let it rest for 5 minutes before cutting.
Q2. Should I cover the chicken with foil while baking?
No, you should bake the chicken uncovered. Covering it with foil traps steam, which prevents browning and can make the exterior soggy. The high oven heat without a cover is what gives the chicken that beautiful golden color on the outside. You only use foil after baking, during the resting period.
Q3. Can I use frozen chicken breasts?
It is best to thaw the chicken completely before baking for even cooking. Baking frozen chicken breasts is possible in a pinch, but you will need to increase the cooking time by about 50 percent and the texture may not be as good. Always verify the internal temperature reaches 165°F regardless.
Q4. Can I marinate the chicken before baking?
Absolutely! Marinating adds even more flavor and tenderness. A simple marinade of olive oil, lemon juice, garlic, and herbs works wonderfully. You can marinate the chicken for as little as 30 minutes or up to 8 hours in the refrigerator. Pat the chicken dry before baking even after marinating.
Q5. What temperature should baked chicken breast reach?
The USDA recommends an internal temperature of 165°F (74°C) for fully cooked chicken. This is the safest and best temperature for juicy, properly cooked chicken. Insert the meat thermometer into the thickest part of the breast and avoid touching the bone if present.
Q6. Can I make this recipe ahead of time for meal prep?
Yes, this recipe is perfect for meal prep. Bake a large batch on Sunday and store it in the refrigerator for up to 4 days. Use the chicken in salads, wraps, grain bowls, sandwiches, pasta, and more throughout the week.
Q7. Can I use bone-in chicken breasts instead?
Yes, you can use bone-in chicken breasts. However, they will take longer to cook. At 425°F, bone-in chicken breasts typically need 35 to 45 minutes depending on their size. Always use a meat thermometer to confirm the internal temperature reaches 165°F.
Q8. What can I substitute for smoked paprika?
If you do not have smoked paprika, you can use regular sweet paprika, chili powder, or a pinch of cumin for a slightly different but still delicious flavor profile. Smoked paprika adds a subtle smoky depth, but the recipe works without it too.
Recommended By BeautifulKitchenguide's Team
Little Lunches - Personalized Meal Planning - 7 Day Free Trial
Amazon Must Have Kitchen Gadgets To Save Time Check List
Best Kitchen Faucets of 2025: Sleek, Durable & Worth Every PennyCheck Our Review
The Ultimate Guide to the Best Coffee Makers for Every Budget Check Our Review