
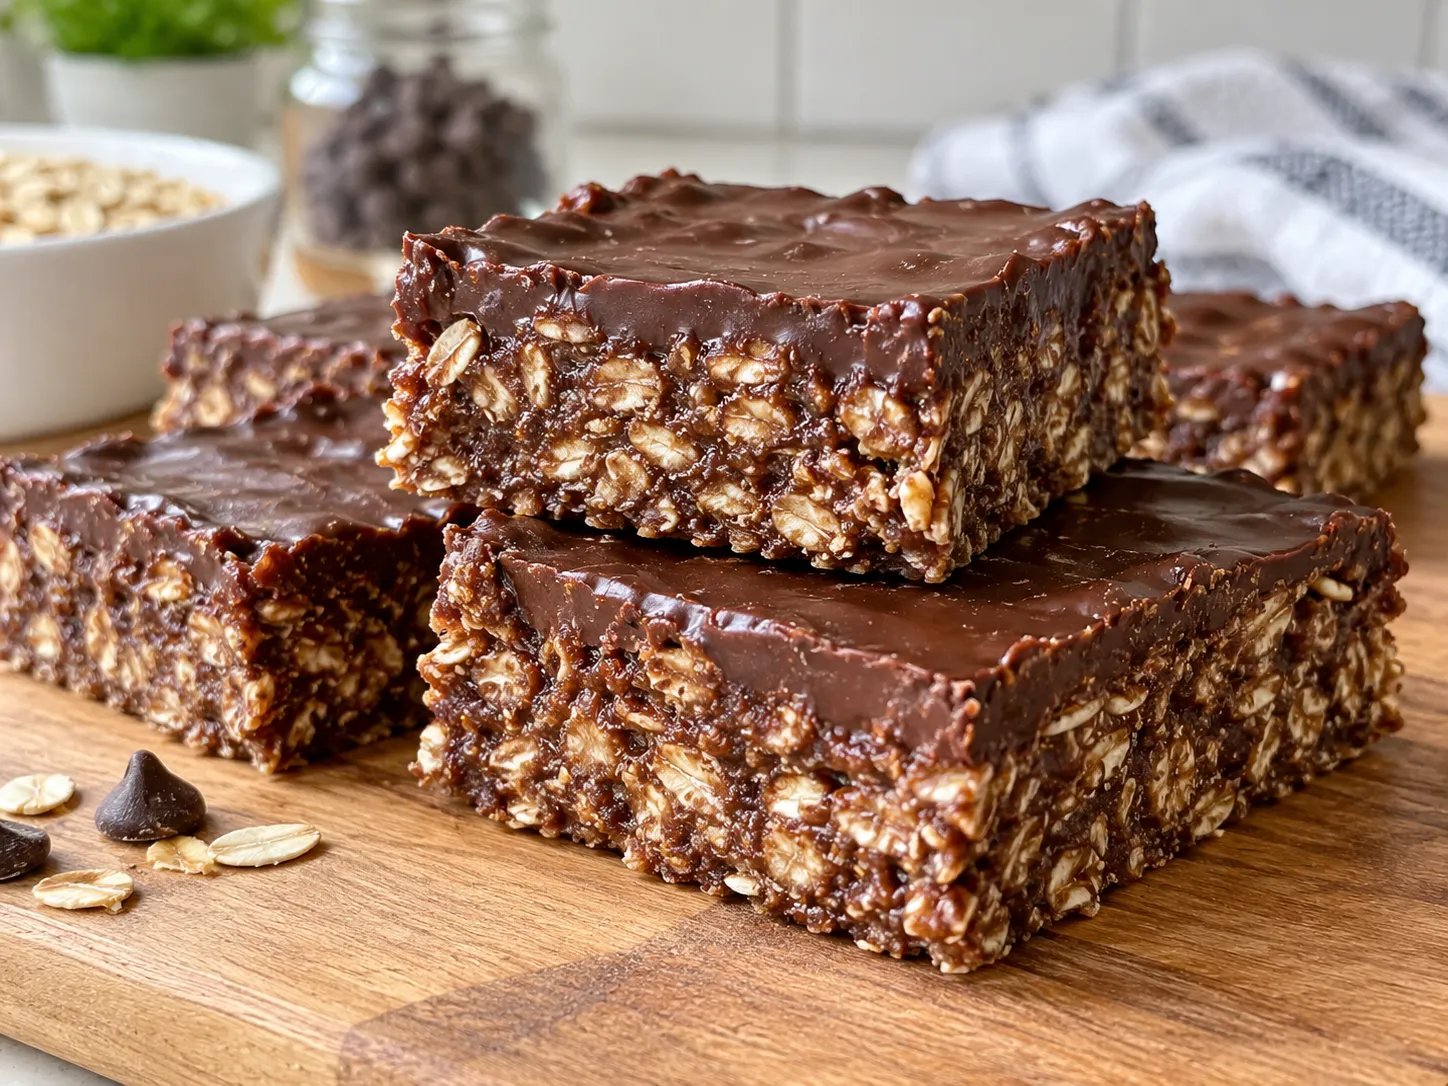
When you want something sweet, chocolatey, and homemade without turning on the oven, these no-bake chocolate oat bars are a perfect choice. They combine hearty rolled oats, rich chocolate, creamy peanut butter, and a touch of sweetness to create chewy, satisfying bars with plenty of chocolate flavor.
This easy no-bake chocolate oat bars recipe comes together in just a few simple steps. Melt the chocolate mixture, stir in the oats, press everything into a pan, and let the bars chill until firm. The result is a delicious snack that works well for dessert, lunchboxes, afternoon cravings, or an easy homemade treat.
These bars are also convenient to make ahead, and they store well in the refrigerator, making them useful when you want a sweet snack ready to grab.
Recipe Information
| Recipe Detail | Information |
|---|---|
| Recipe Name | No-Bake Chocolate Oat Bars |
| Cuisine | American |
| Category | Dessert, Snack |
| Preparation Time | 10 minutes |
| Cooking Time | 5 minutes |
| Chilling Time | 1 hour |
| Total Time | 1 hour 15 minutes |
| Servings | 12 bars |
| Yield | 12 bars |
| Difficulty | Easy |
Why This Recipe Is Good
These no-bake chocolate oat bars are quick, simple, and require very little equipment. They have a satisfying chewy texture, rich chocolate flavor, and can be prepared ahead of time. They are also easy to customize with nuts, coconut, seeds, or dried fruit.
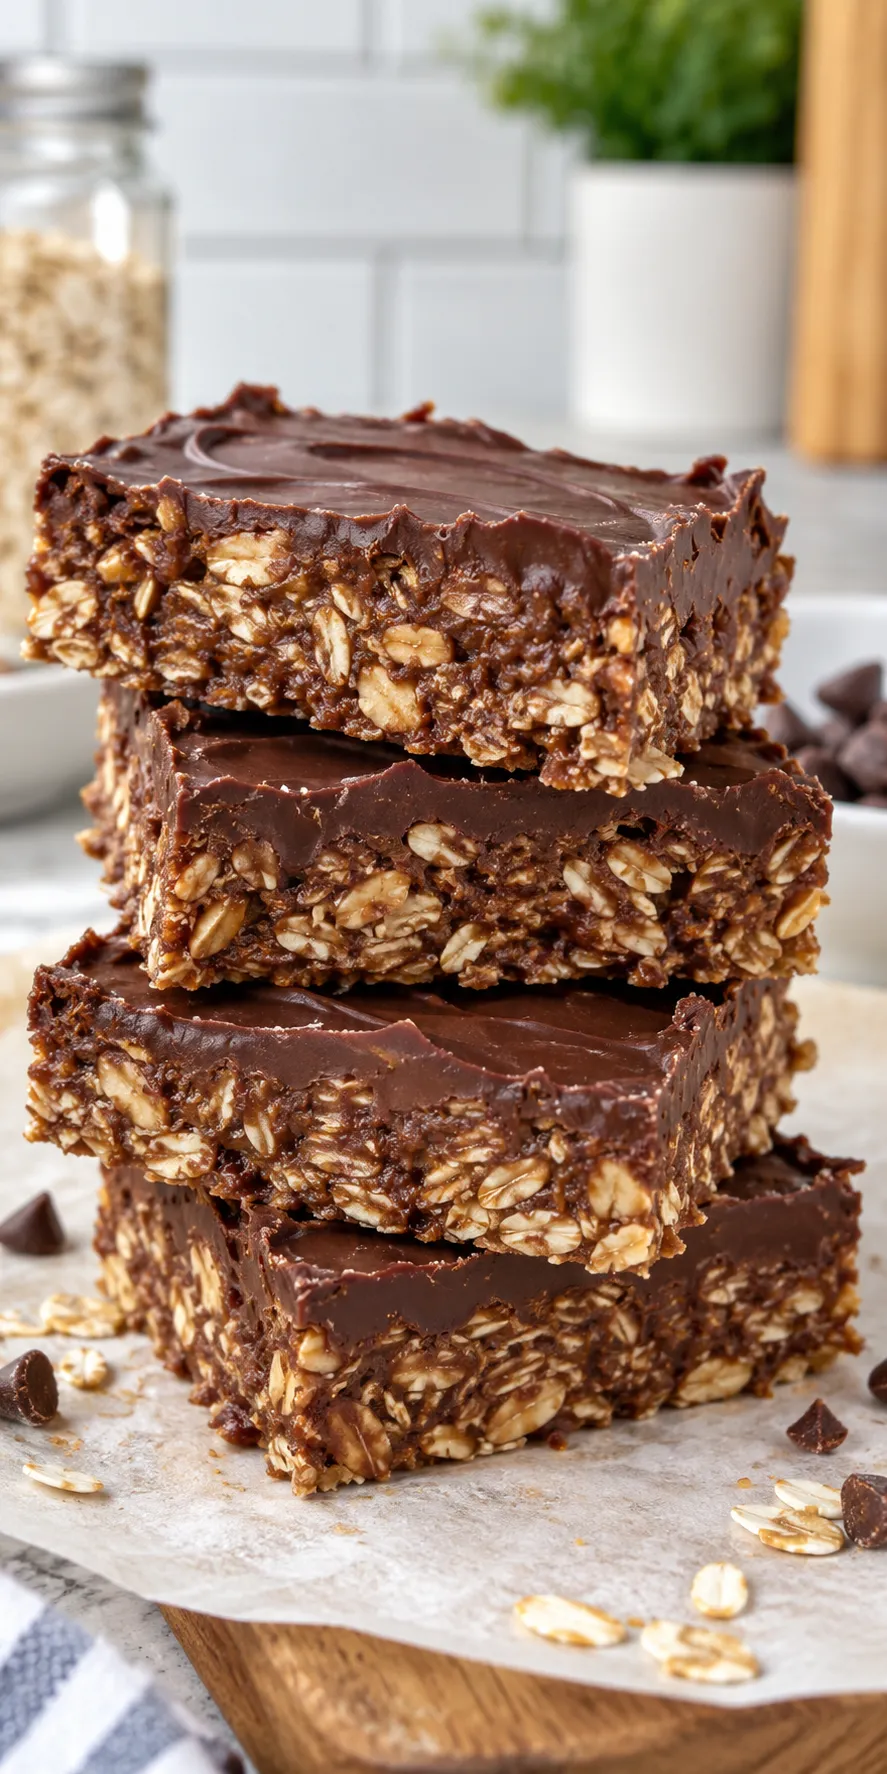
Ingredients
For the Chocolate Oat Bars
- 2 cups rolled oats
- 1/2 cup creamy peanut butter
- 1/3 cup honey
- 1/4 cup unsalted butter
- 1/3 cup unsweetened cocoa powder
- 1/2 cup semi-sweet chocolate chips
- 1 teaspoon vanilla extract
- 1/4 teaspoon salt
Optional Toppings
- 2 tablespoons mini chocolate chips
- 2 tablespoons chopped peanuts or almonds
- 1 tablespoon shredded coconut
- A small pinch of flaky sea salt
Equipment Needed
- 8 x 8-inch square baking pan
- Parchment paper
- Small saucepan
- Mixing bowl
- Rubber spatula or wooden spoon
- Measuring cups and spoons
- Sharp knife for cutting the bars
How to Make No-Bake Chocolate Oat Bars
1. Prepare the Pan
Line an 8 x 8-inch square baking pan with parchment paper, leaving a little extra paper hanging over two sides. This will make it easier to lift the chilled bars out of the pan later.
2. Combine the Chocolate Mixture
Add the butter, peanut butter, honey, and cocoa powder to a small saucepan. Place the saucepan over low heat and stir continuously until the butter melts and the mixture becomes smooth.
Do not bring the mixture to a rapid boil. Gentle heating is enough to combine the ingredients without making the bars overly dry.
3. Add the Chocolate Chips
Remove the saucepan from the heat and immediately add the chocolate chips. Stir until they melt into the warm mixture and everything becomes glossy and smooth.
Stir in the vanilla extract and salt.
4. Mix in the Oats
Place the rolled oats in a large mixing bowl. Pour the warm chocolate mixture over the oats.
Use a rubber spatula or wooden spoon to stir thoroughly until all of the oats are evenly coated with the chocolate mixture.
Make sure there are no large pockets of dry oats, as this helps the bars hold together properly once chilled.
5. Transfer to the Pan
Pour the oat mixture into the prepared pan. Use the back of a spatula or the bottom of a measuring cup to press the mixture firmly and evenly into the pan.
Pressing firmly is important because it helps the bars stay together when sliced.
Sprinkle the top with mini chocolate chips, chopped nuts, shredded coconut, or flaky sea salt if desired.
6. Chill the Bars
Place the pan in the refrigerator and chill for about 1 hour, or until the mixture feels firm to the touch.
For an even firmer texture, you can chill the bars for longer.
7. Slice and Serve
Lift the chilled slab out of the pan using the parchment paper. Place it on a cutting board and use a sharp knife to cut it into 12 bars.
For cleaner slices, wipe the knife between cuts.
Serve the bars chilled or let them sit at room temperature for a few minutes before eating.
Recipe Tips
Use rolled oats rather than quick-cooking oats when possible. Rolled oats provide a pleasant chewy texture and help give the bars a substantial bite.
Keep the heat low when melting the butter, peanut butter, honey, and cocoa. Overheating the mixture can affect the final texture.
Press the mixture firmly into the pan. This is one of the most important steps for creating bars that hold together well.
For extra chocolate flavor, use dark chocolate chips instead of semi-sweet chocolate chips.
For a nut-free version, replace the peanut butter with sunflower seed butter or another suitable seed butter.
Let the bars chill completely before cutting. Cutting them too early can cause them to crumble.
Variations
Chocolate Coconut Oat Bars
Add 1/3 cup unsweetened shredded coconut to the oats before mixing. Sprinkle additional coconut over the top before chilling.
Chocolate Peanut Oat Bars
Stir 1/3 cup chopped roasted peanuts into the oat mixture for extra crunch and a stronger peanut flavor.
Dark Chocolate Oat Bars
Use dark chocolate chips and unsweetened cocoa powder for a deeper, less sweet chocolate flavor.
Fruit and Chocolate Oat Bars
Add 1/4 cup finely chopped dried cranberries, raisins, or chopped dates to the oat mixture.
Salted Chocolate Oat Bars
Add a light sprinkle of flaky sea salt over the finished bars before chilling. The salty topping pairs especially well with the chocolate and peanut butter.
How to Store No-Bake Chocolate Oat Bars
Store the bars in an airtight container in the refrigerator for up to 1 week. Place parchment paper between layers if stacking them.
For longer storage, the bars can also be frozen. Wrap individual pieces tightly and place them in a freezer-safe container or bag. Freeze for up to 2 months.
Thaw frozen bars in the refrigerator or let them sit at room temperature for a short time before serving.
Common Mistakes to Avoid
One common mistake is using too much heat. The chocolate mixture only needs gentle heating, so avoid cooking it aggressively.
Another mistake is not pressing the mixture firmly enough into the pan. Loose packing can result in crumbly bars.
It is also important to measure the oats accurately. Adding too many oats can make the bars dry, while too few can make them too soft.
Finally, give the bars enough time to chill. They need time for the chocolate mixture and butter to firm up before they are sliced.
Nutrition Information
The following values are approximate and may vary depending on the brands and specific ingredients used.
| Nutrient | Per Bar |
|---|---|
| Calories | 225 kcal |
| Carbohydrates | 27 g |
| Protein | 5 g |
| Fat | 12 g |
| Saturated Fat | 4 g |
| Fiber | 3 g |
| Sugar | 14 g |
| Sodium | 95 mg |
Frequently Asked Questions
Can I make these no-bake chocolate oat bars without peanut butter?
Yes. You can substitute almond butter, cashew butter, or sunflower seed butter. Keep in mind that different nut and seed butters can slightly change the texture and flavor.
Do I need to bake the oats?
No. These bars are designed to be completely no-bake. The oats are mixed directly into the warm chocolate mixture and then chilled until firm.
Why are my oat bars falling apart?
The mixture may not have been pressed firmly enough into the pan, or the bars may not have chilled long enough. Make sure the mixture is tightly compressed and fully chilled before slicing.
Can I use quick oats instead of rolled oats?
Yes, quick oats can work, but the texture will be softer and less chewy. Rolled oats generally provide a better texture for these bars.
How long do no-bake chocolate oat bars last?
They can be stored in an airtight container in the refrigerator for about 1 week. They can also be frozen for up to 2 months.
Can I make these bars dairy-free?
Yes. Use a dairy-free butter alternative and dairy-free chocolate chips. Check the labels of all ingredients to ensure they meet your dietary requirements.
Can I make these chocolate oat bars ahead of time?
Absolutely. These bars are well suited to make-ahead preparation. Prepare them the day before, refrigerate them overnight, and slice them when ready to serve.
Can I freeze no-bake chocolate oat bars?
Yes. Wrap the bars individually or place parchment between layers in a freezer-safe container. Freeze for up to 2 months for best quality.
What can I add to these bars?
You can add chopped nuts, shredded coconut, dried fruit, chia seeds, pumpkin seeds, or extra chocolate chips. Keep additions moderate so the bars still hold together properly.
How can I make the bars less sweet?
Use dark chocolate chips and reduce the honey slightly. Keep in mind that changing the amount of sweetener can affect how firmly the bars set.
Final Thoughts
These no-bake chocolate oat bars are an easy homemade treat that delivers rich chocolate flavor with minimal effort. With simple pantry ingredients, no oven, and only a short chilling time, they are a convenient recipe for busy days and last-minute dessert cravings.
Recommended By BeautifulKitchenguide's Team
The Complete 28-Day Keto Meal Plan Check Keto Cookbook
The Ultimate 100 High-Protein Recipes Check High Protein Cookbook
The Ultimate Vegan Cookbook - 70 Easy Recipes Check Vegan Cookbook