A loose faucet spout wastes lots of your time in washing and cleaning and also increases your water bill. If you want to learn how to fix a loose kitchen faucet spout, you are at the right place.
It is very annoying and frustrating to deal with a loose kitchen faucet spout. Over time, the faucet parts don’t remain in good condition and start showing problems. Regular use of the faucet spout makes it loose.
No matter how expensive your kitchen faucet is there are chances that after a certain time period, it would become loose. There could be different reasons for the loose kitchen faucets which we will discuss shortly in this article.
#Smart Faucet
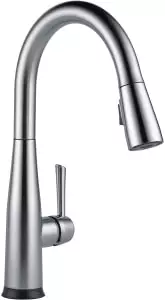
Delta Faucet Essa Brushed Nickel Kitchen Faucet with Pull Down Sprayer (Best Rated)
1) Patented Diamond Seal Technology reduces leak 2) Powerful magnet to snap sprayer into place 3) Easy installation 4) Easy to clean body
Reasons For Loose Kitchen Faucet Spout
Ignoring a loose faucet spout can lead to bigger problems in the future and damage to your kitchen faucet over time. Before looking for solutions, it’s important to understand why your kitchen faucet spout might be loose. A loose kitchen faucet can also cause low water pressure. Check out these kitchen faucets that can help with low water pressure.
Damaged O-Ring
Inside the faucet handle, there are small rubber rings called O-rings. The handle is the part of the faucet that we use the most, like when we turn the water on or off.
Usually, faucet handles are made to handle around 500,000 times of turning on and off. But after all that use, the O-rings inside the handle can start to get loose or worn out. When this happens, it’s common to experience a loose handle, which is a common issue with kitchen faucets.

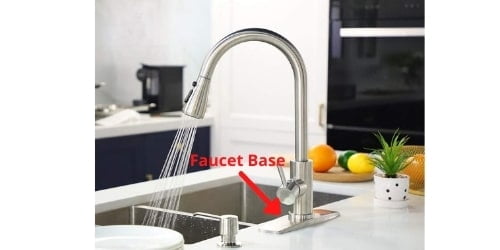
Faucet Base
The next culprit for a wobbly kitchen faucet, following damaged O-rings, is the faucet base. The faucet base plays a crucial role in the faucet’s stability.
Over time, rust or corrosion can create a space between the faucet base and the countertop, causing the faucet to wobble. When the faucet base is loose, it impacts the entire faucet’s stability and functionality.
Screws
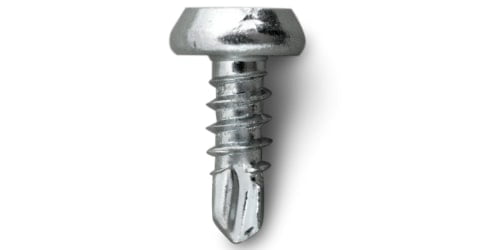
To secure the kitchen faucet spout in position, it’s held in place by screws. You won’t see these screws on the countertop; they’re located underneath the sink.
Over time, the threads on these screws can wear down, making it difficult for the screw to stay securely in place. This can lead to a loose faucet spout.
How To Fix Loose Kitchen Faucet Spout?

It doesn’t matter whether you bought an expensive faucet or a cheap one, with time it doesn’t function properly as they were doing in the starting. The kitchen faucet comes loose from the base and handle. Below, I have added solutions for both problems.
Step 1 – Gather The Necessary Tools
Before you start the process of fixing the loose kitchen faucet spout, you should have the following tools at hand to make the process simple.
Step 2 – Identify The Problem
Now, let’s figure out why your faucet spout is loose. Identifying the cause is the first step to fixing it. Typically, a wobbly spout is due to either worn-out O-rings or a loose mounting nut. Understanding what’s causing the issue will make it simpler to repair your faucet spout.
Step 3 – Turn off The Water Supply
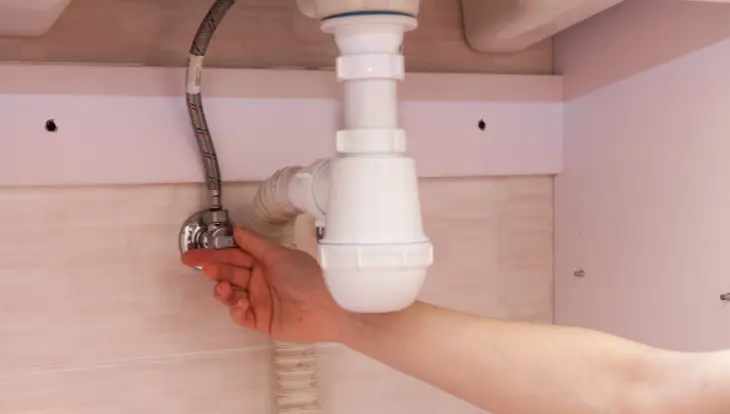
To prevent kitchen water mishaps, it’s crucial to stop the water flow before you begin. You can do this by either closing the valve under the sink or turning off the main water supply. This simple step helps keep things safe and dry while you work in the kitchen.
Step 4 – Remove The Faucet Handle

Next, take off the faucet handle. To do this, use a screwdriver to remove the screw holding the handle in place. If you can’t see any screws, find out how to remove the handle when there are no visible screws.
Step 5 – Remove The Faucet Spout
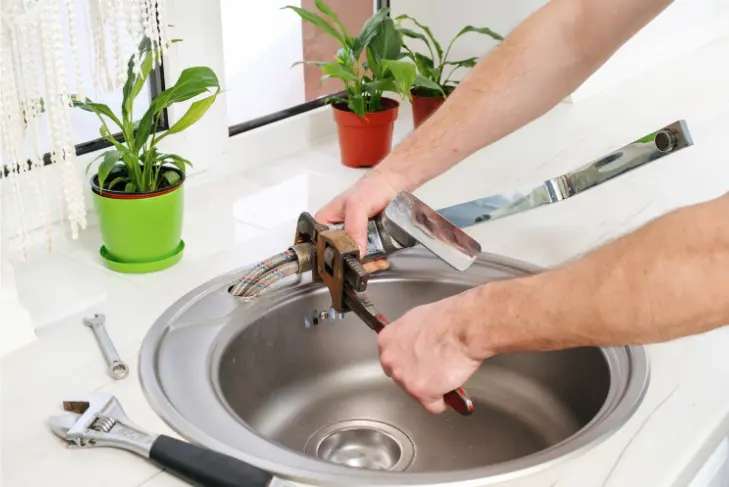
The spout stays in position thanks to a mounting nut. To take it off, grab a pair of pliers or a basin wrench and loosen the nut.
To actually remove the spout, you’ll need that basin wrench again. Attach it to the spout and turn it counterclockwise. To keep things scratch-free, wrap some Teflon tape around the spout.
Once you’ve got the spout off, check the O-rings and mounting nuts. If they look worn out or damaged, it’s time to replace them.
Step 6 – Replace o-rings and Mounting Nut
After taking off the spout, it’s time to replace any broken parts. If the mounting nut is damaged, put in a new one.
If the O-rings are looking old and worn, swap them out for fresh ones. When you’re securing the mounting nut, be sure to align the spout correctly in its place before tightening the nut. This ensures everything fits just right.
Step 7 – Reattach The Faucet Handle
Now, put the handle back where it belongs. First, position it by hand and then secure it with the screw. Use a screwdriver to tighten it, but don’t overdo it, or you might harm the faucet.
After you’ve reattached all the parts, turn on the water supply and test the faucet spout. If everything is functioning as it should, you’ve successfully fixed the loose kitchen faucet spout and now the kitchen faucet won’t swivel.
Check also – Best Touch Sensor Kitchen Faucets

#MustHaveGadget
Fullstar Vegetable Chopper – Spiralizer Vegetable Slicer – Onion Chopper with Container
1) 4 Interchangeable Blades 2) Built-in Chop Lid 3) Rust-Resistant Heavy Duty Blades 4) Soft Rubberized Grip Handle 5) BPA-Free
How To Fix Loose Kitchen Faucet Spout Base?
If you’ve already fixed the handle but the kitchen faucet wobbles, it’s time to tighten the faucet’s base. These steps are straightforward. By following them, you can resolve the issue of a kitchen faucet loose from the countertop in just a few minutes.
Clean Under Sink Area
In many homes, the space beneath the kitchen sink tends to become a storage spot for less important items. To fix a loose faucet base, it’s essential to access the area beneath the sink. By clearing out and organizing the under-sink space, you’ll create more room to work comfortably.
Additionally, taking the time to clean away any dust from this area is beneficial. This ensures that when you need to reach or work under the sink, you won’t encounter any dust particles that might get into your eyes.
Turn Off the Water
Before starting any repair of the sink faucet loose at the base, it’s crucial to turn off the water supply. You can typically locate the water supply valves under the sink. If they’re not there, you should shut off the main water valve for the entire house.
Most kitchen faucets come with both hot and cold water lines, so it’s essential to close both water valves. This precautionary measure is vital; otherwise, you could end up with a sudden flood of water in your kitchen area if the valves are left open.
Cover The Drain
While not absolutely necessary, for added safety, consider covering the drain when tightening the faucet. This precaution helps prevent any small pieces from accidentally falling into the drain while you’re working. You can easily do this by using an old cloth or towel to cover the drain opening.
Find Screws
Get inside the sink area and locate the screw or nut holding the faucet in place. The space under the sink can be quite dark, so make sure to use a flashlight to illuminate the area.
Once you have your flashlight on, inspect the faucet and identify the screws or nuts. If there are multiple nuts, examine them one by one to determine which one is loose and causing the issue. This step will help pinpoint the specific problem and guide your repair efforts.
Tighten Kitchen Faucet Nut Under Sink
Once you’ve identified a loose screw or nut, you can tighten it using the appropriate tool. For screws, use a screwdriver, and for nuts, an Allen wrench is the right choice.
Place the screwdriver into the screw head or fit the Allen wrench onto the nut, then turn it in a clockwise direction to tighten.
Due to limited space under the sink, you might encounter some difficulty in turning the wrench. Adjust your position to get a better grip and improve your maneuverability.
It’s important not to overtighten the nut, as this can cause it to shift out of position, potentially leading to further loosening of the faucet.
Check the Faucet Base
Once you feel that the nut is tightened properly, go upside down and check the faucet. If the faucet is not wobbling then your work is done otherwise you need to again go under the sink and tighten the kitchen faucet screw more.
Turn On The Water Supply
Once the whole process is done then turn on the water supply. Turn on the hot and cold water supply and check them one by one both water supply.

#MustHave
Instant 6-in-1 Indoor Grill and Air Fryer Clear Cooking Window, and Removable Lid for Easy Cleaning
1) 6-IN-1 Functionality 2) Heat Delivered Through The Bottom of Unit 3) See-Through Lid 4) Quick and Easy Clean Up 5) Advanced Air Fry Technology
Read also –
Camber Kitesurfing
How To Tighten a Loose Moen Kitchen Faucet Spout?
- To tighten a loose Moen kitchen faucet first thing, you need to do is move the handle downward.
- There is a little cap back of the handle, you need to find it.
- After finding the cap, pop it out with a knife and be careful, not to cut your hand or fingers.
- Go ahead under the sink and you see a small nut. It would be good if you remove all things from under the sink so you get more area to sit there.
- Twisting this nut may be tricky because sometimes with the nut, the faucet also starts twisting so make sure that the head of the faucet doesn’t twist.
- Before twisting the nut, turn off the water supply. Under the sink, you may find a water valve for the faucet, turn it off. If you have separate hot and cold water supplies then turn them off both.
- Now you know which nut to twist, if it’s dark, use a flashlight.
- Use an Allen wrench to twist the nut. Set the size of the Allen wrench according to the nut size.
- When Allen sets it fixed with the nut, make a firm grip on the nut and twist it clockwise.
- While tightening the nut, you must be very careful. Under-tightening or over-tightening won’t make the faucet tighten properly.
- Twist the nut until you feel that you can’t twist it furthermore. Go upside and check faucet is wobbling or not, if not then your work is done.

1) 7-IN-1 Functionality 2) Quick One-Touch Cooking 3) 70% Faster Than Traditional Cooking 4) Quick and Easy Clean Up 5) 10 Safety Features
Frequently Asked Questions
Why Does My Faucet Keep Getting Loose?
There are 2 main reasons for the loose handle of the faucet. First, the nut of the handle is not properly tightened. Second, the cartridge of the faucet is torn so it is not working properly.
How Do I Stabilize My Kitchen Faucet Handle?
A loose kitchen faucet handle makes anyone irritated when they wash dishes. The loose handle won’t turn off properly and water drizzles from the spout. Tighten the screw or nut of the faucet handle to make it stabilize.
What Tool Do You Use To Tighten The Faucet Handle?
The screwdriver and wrench are perfect tools to tighten a kitchen faucet handle. These both are easy to use on any nut.
Can a Loose Kitchen Faucet Spout Cause Water Leaks?
Yes, a loose kitchen faucet spout causes water leaks. In addition to causing leaks, a loose kitchen faucet spout can also cause other problems, such as reduced water pressure, difficulty turning the faucet on or off, and strange noises when the faucet is in use.
What Are Some Common Signs That My Kitchen Faucet Spout Needs To Be Tightened?
There are many signs that are indications of a loose faucet spout like a wobbling faucet, leaking, dripping, and strange noises from the faucet.
Conclusion
As you know, tightening a kitchen faucet spout is not a hard job with proper tools and following our steps, you can easily tighten a loose kitchen faucet spout. I have shown all the steps to fix the loose kitchen faucet spout problem. You can do it without a plumber’s help.
🚀 Editor's Picks From Amazon For Our Readers


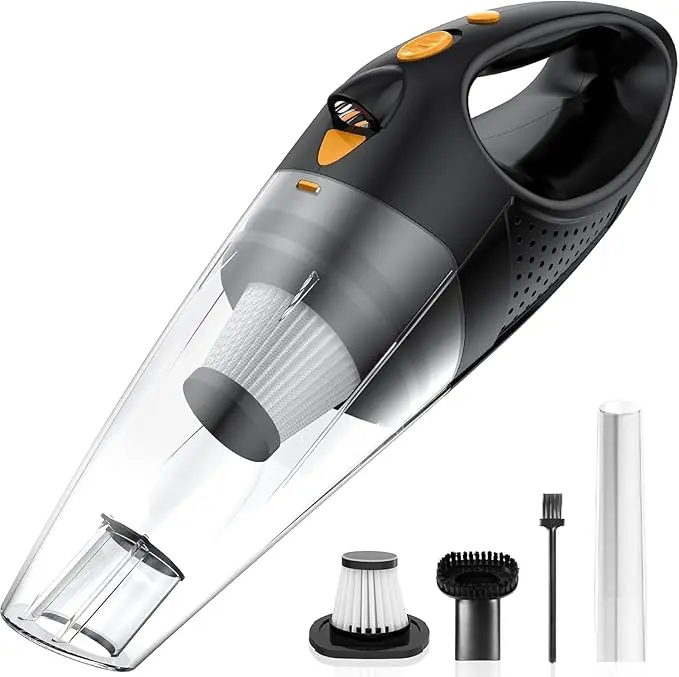
Powools Handheld Vacuum Cordless with 2 Filters, Car Vacuum Cleaner High Power with Fast Charge
Check on Amazon ➯4.5 ⭐
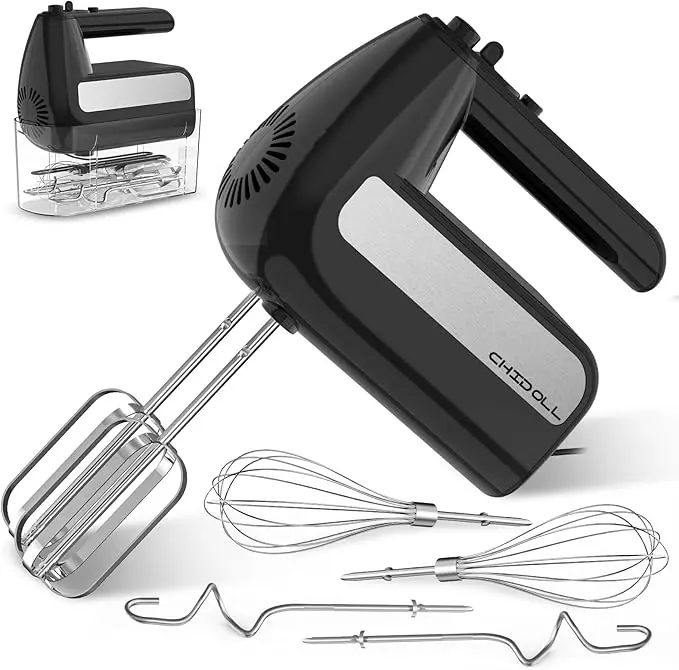
5-Speed Electric Hand Mixer, 800W Handheld Mixer with Turbo for Baking & Cooking
Check on Amazon ➯4.5 ⭐

Skin Tightening Face Machine - Microcurrent Anti-Aging Face Massager Eye De-Puffing Device
Check on Amazon ➯4.5 ⭐

Lefant M310 Robot Vacuum Cleaner,4500Pa Strong Suction, Slim Design, Quiet, PreciSense Obstacle Avoidance,
Check on Amazon ➯4.6 ⭐


